What Is Hot Stamping?
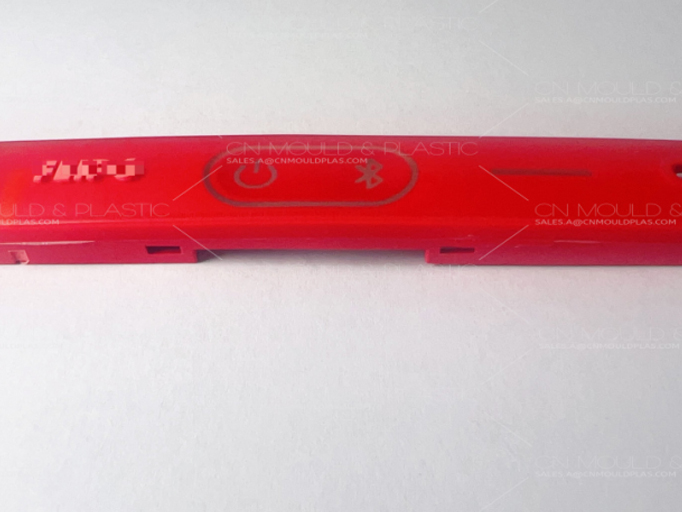
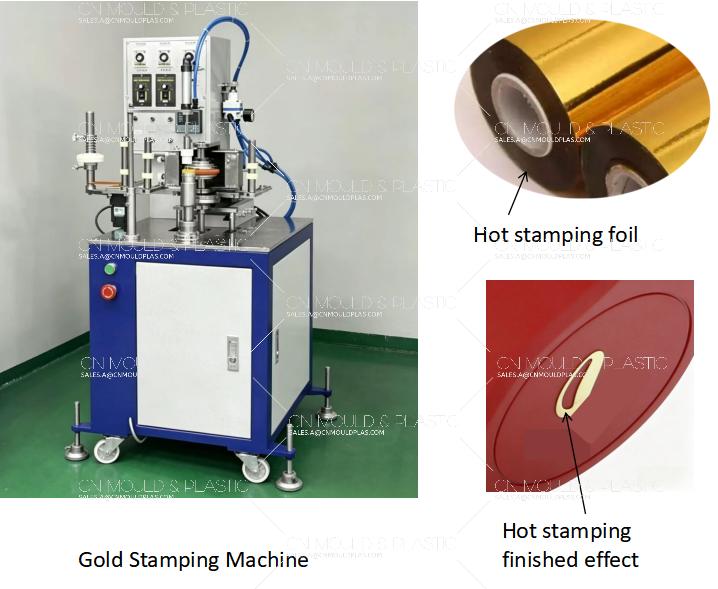
Hot stamping uses a special foil and controlled heat to transfer text or graphics onto the surface of a plastic part.
Advantages:
No pre‑treatment required
Simple equipment
Can produce metallic finishes (gold, silver, etc.)
Disadvantages:
Before You Start: 6 Critical Checks
1. The surface must be smooth and flat. Uneven surfaces lead to incomplete transfer and patchy results.
2. Hot stamping requires clean, flat surfaces without mold release agent. Release agents will prevent the foil from sticking.Any oil, dust, or moisture will cause spots, poor bonding, or complete failure.
3. Pay attention to design details. The raised stamping surface should be at least 0.5 mm higher than the surrounding area. Also, leave grooves between raised areas — this is especially important for silicone parts.
4. Avoid sharp edges. When stamping on silicone, sharp edges significantly reduce mold life.
5. For curved surfaces, use the largest possible radius. A larger radius ensures better foil contact and more even transfer.
6. Control part warpage. If your injection‑molded part is warped, you will never get consistent stamping results.
The 3 Key Process Parameters
Hot stamping quality comes down to three variables: temperature, pressure, and speed. Get these right, and you get a clean, durable finish. Get them wrong, and you'll see smudges, blisters, or no transfer at all.
Temperature
Typically 70–180°C.
Too low: Weak adhesion; incomplete or patchy transfer.
Too high: Smudging, blistering, and loss of metallic gloss.
Pressure
Typical stamping pressure ranges from 0.4–0.6 MPa (4–6 kg/cm²).
Too low: Leads to incomplete foil contact, resulting in poor transfer and a patchy finish.
Too high: Results in smudged prints with thick, blurred lines.
Speed
Slightly slower: Allows sufficient dwell time for stronger bonding and a higher-quality finish.
Too fast: Poor or non-transfer, resulting in a patchy and incomplete print.
Recommended Setup Sequence
Set the parameters in this order:
1. Determine stamping speed first
2. Adjust pressure based on substrate, foil type, plate area, and speed — aim for moderate, evenly distributed pressure
3. Set temperature last
Pro tip: For the best results, use moderate pressure, lower temperature, and slightly slower speed.

 English
  français
  Deutsch
  Español
  italiano
  русский
  português
  العربية
  dansk
dansk  Suomi
Suomi  Svenska
  norsk
norsk